
When I bought my Raspberry Pi 4 Model B back in February, I thought I would splash an extra $20 for the 4GB RAM option instead of the 2GB one (the 8GB wasn’t available at the time) as it gave me the option to run VMware ESXi on it, if/whenever it would become available.
After a couple of years since a VMworld announcement, it is finally available as a Fling.
When you download the ISO on the Fling (click here), you’ll find enclosed some instructions. These are great and pretty clear but I often found that more instructions and more examples cannot hurt – especially with plenty of pictures and videos – so here are my instructions on how to install VMware ESXi on a Raspberry Pi.
This is what the end result will be:
First and foremost, we have a number of requirements we have to meet before we can get started:
Hardware Requirements
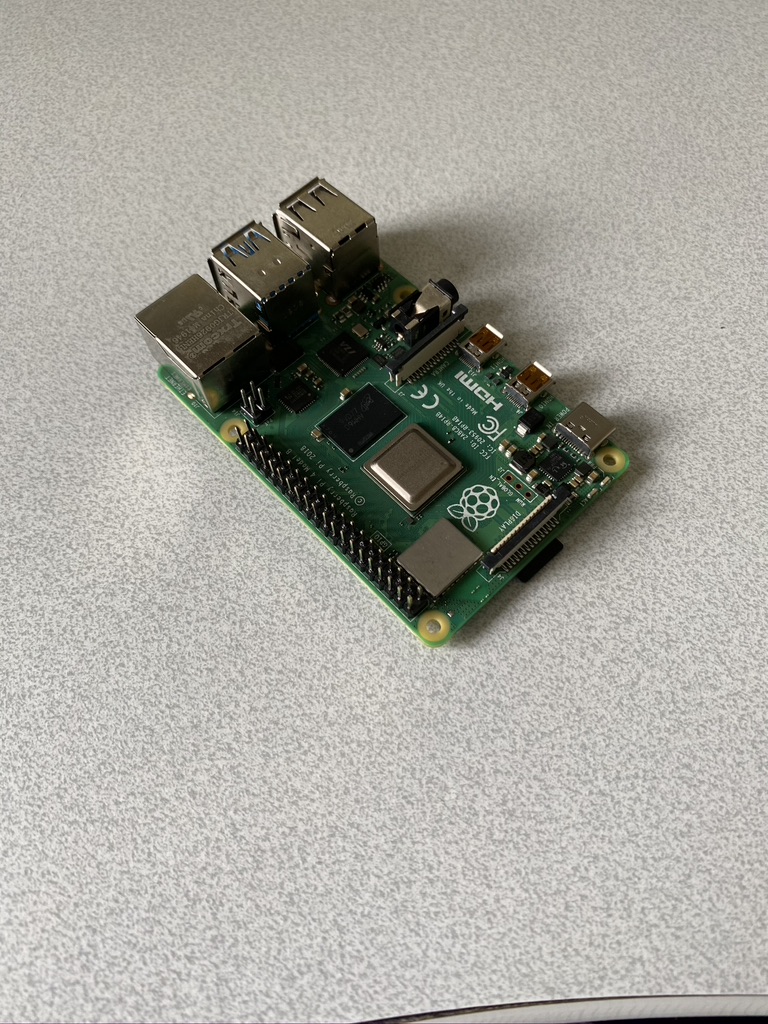
Raspberry Pi
You will need a Raspberry Pi Model B (4B or 8GB of RAM). When I had ordered mine back in February, I also had ordered a micro SD card pre-loaded with an operating system.
The SD card is required for the ESXi installation (ESXi requires a UEFI firmware that we will be installing on the SD card).
Ideally, go for the 8GB as you won’t be able to run an awful lot of VMs with just 4GB. But it does work.
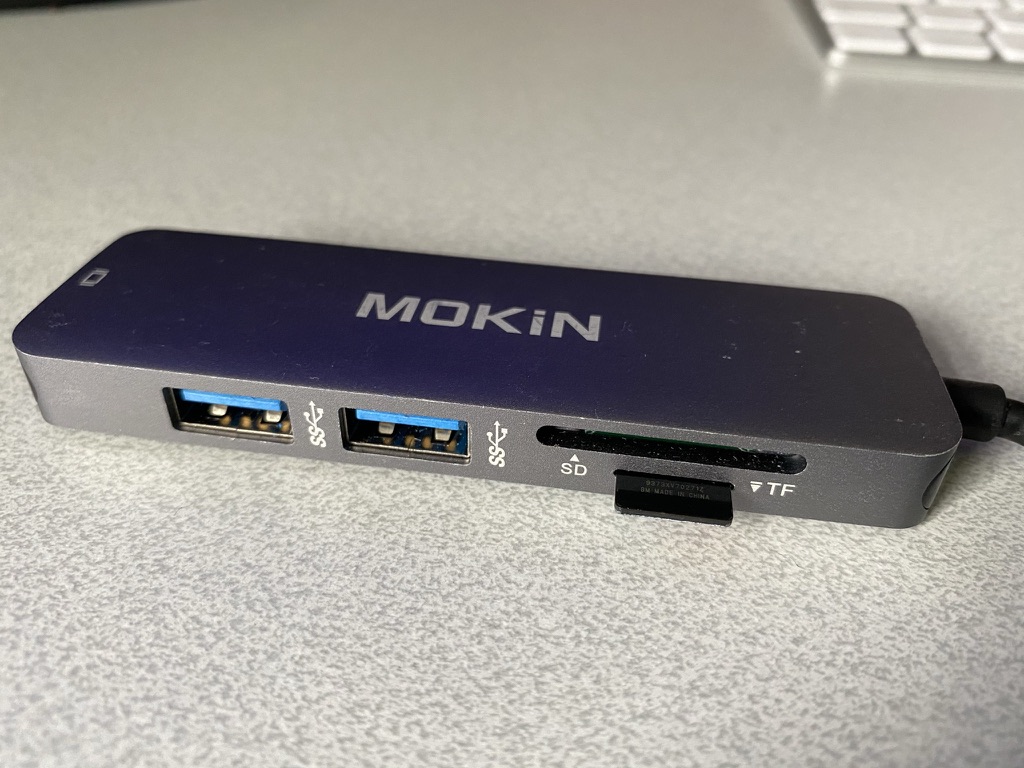
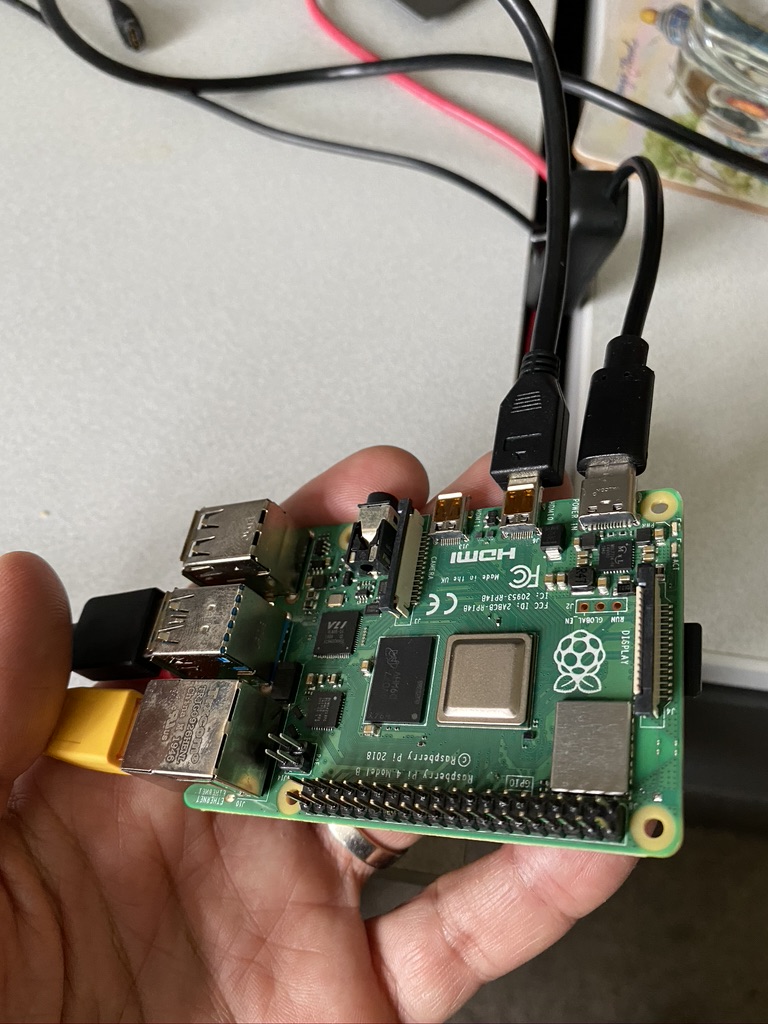
You will need to update the firmware on the SD Card so you will probably need an adapter/dongle to connect the micro SD Card to your computer. A picture of my adapter is further below.
Display
You will need to connect the Raspberry Pi to a HDMI monitor or via serial connection. The easiest solution would be a HDMI monitor. That’s what I’ll be using in this walkthrough.
USB Drive for the ISO installer
This USB key can be pretty small from a storage perspective. This is where we are going to install the ESXi ARM installer file (150 MB). Mine was an old Kingston USB key I found in the mess that is my office.

It happens to be 32GB which is far more than what I needed.
USB Drive for ESXi
You can’t use the SD card for the actual ESXi host storage. You need the SD card for UEFI firmware but for the actual ESXi installation, you need USB storage or iSCSI LUNs.
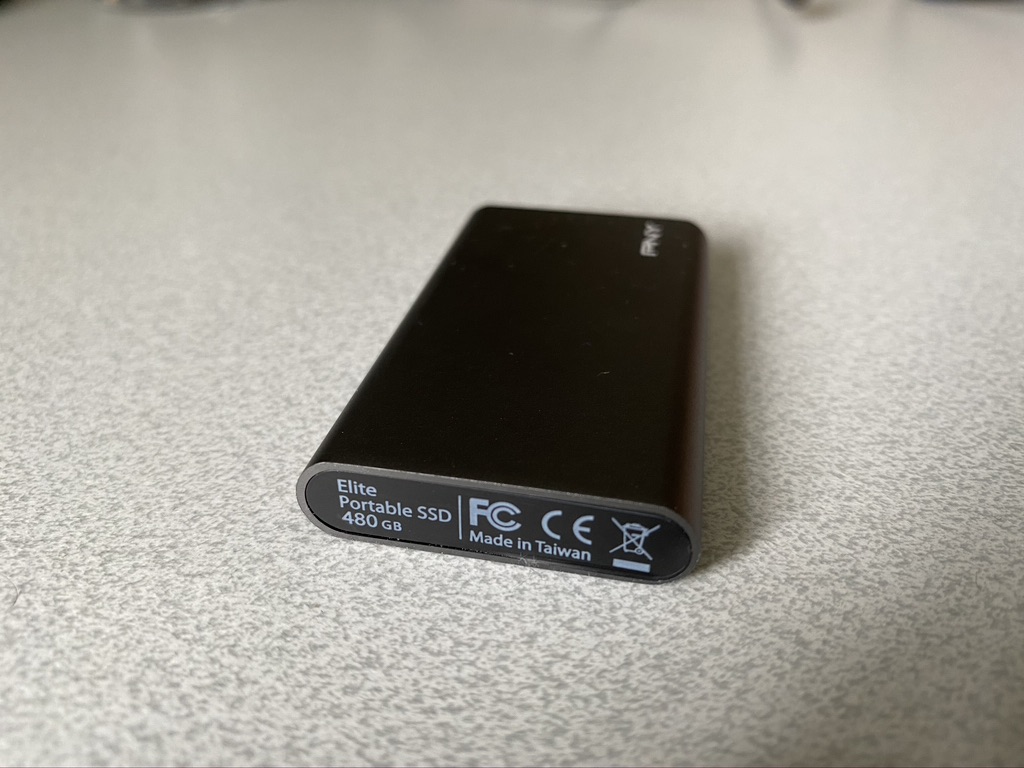
USB storage will be the easiest for most. I admit I don’t know the exact minimal requirements for this. I went ahead and got myself this SSD drive. I got the 480GB version but the 240GB one is more than enough to get started.
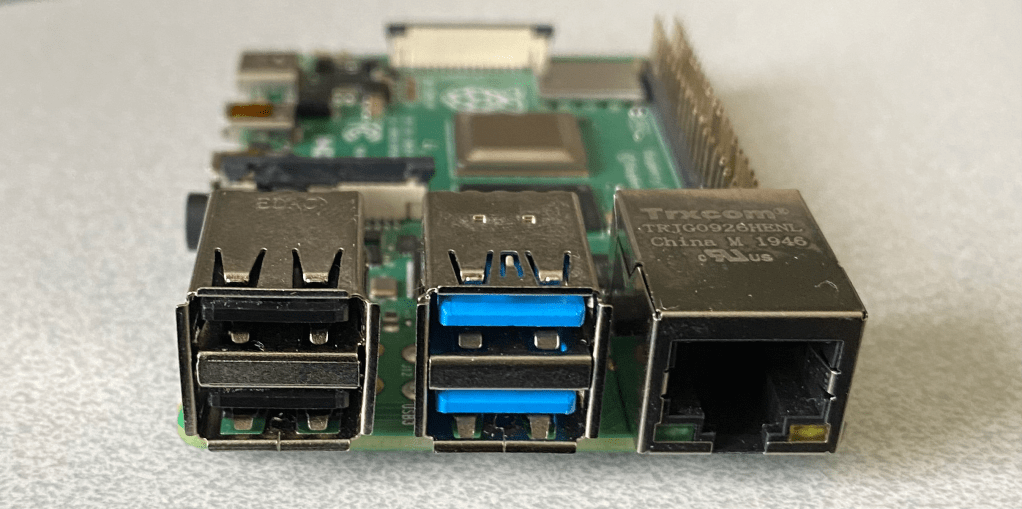
Something to remember: the Raspberry Pi Model B has 4 USB ports: 2 classic USB 2.0 and 2 faster USB 3.0. You want your keyboard to be plugged into the USB 2.0 ports (the black ones) and your storage to be connected to the USB 3.0 ports (the blue ones).
Keyboard
Mine is the “official” Raspberry Pi keyboard but any USB one should do the trick.

Now that we have all the hardware requirements, let’s get the software installed.
All instructions below are using a MacBook Pro.
Step 1 – Setup UEFI on SD Card
My SD Card was already pre-loaded with an operating system so the only thing I had to do was making sure the firmware was up to date.
1.0 – Launch the Raspberry Pi and check the EEPROM version with the following command:
$ sudo rpi-eeprom-update

Mine was already up-to-date as you can see above. To update, use the commands below:
$ sudo rpi-eeprom-update -a
$ sudo reboot
1.1 – Turn off the Pi, unplug the SD Card and plug it back into your computer.
For my Mac, I needed to install in a micro-SD card dongle.
Then, you need to download some firmware and we will need to install it on the SD card.
1.2 – Download the latest rPI Firmware and extract the contents to your computer, you should have a folder called firmware-master
1-3 – Download the latest rPI 4 UEFI firmware and extract the contents to your compute you should have a folder called RPi4_UEFI_Firmware_v1.20
I recommend you put both folders above in /Desktop to keep it simple. All the commands below assume they are located in /Desktop.
1-4 – Re-format SD Card with FAT32 partition.
Here is how to do it.
1-4-1 Identify the disk using the following command and make note of the disk path (e.g. /dev/diskX). Mine was the /dev/disk2.
/dev/disk2 (external, physical):
   #:                       TYPE NAME                    SIZE       IDENTIFIER
   0:     FDisk_partition_scheme                        *31.9 GB    disk2
   1:             Windows_FAT_16 RECOVERY                2.6 GB     disk2s1
   2:                      Linux                         33.6 MB    disk2s5
   3:             Windows_FAT_32 boot                    268.4 MB   disk2s6
   4:                      Linux                         29.0 GB    disk2s7
1-4-2 With the following command, create a FAT32 partition using diskutil command:
nvibert-a01:Users nicolasvibert$ diskutil partitionDisk /dev/disk2 1 MBRFormat "MS-DOS" UEFI R
Started partitioning on disk2
Unmounting disk
Creating the partition map
Waiting for partitions to activate
Formatting disk2s1 as MS-DOS (FAT) with name UEFI
512 bytes per physical sector
/dev/rdisk2s1: 62300416 sectors in 1946888 FAT32 clusters (16384 bytes/cluster)
bps=512 spc=32 res=32 nft=2 mid=0xf8 spt=32 hds=255 hid=2048 drv=0x80 bsec=62330880 bspf=15211 rdcl=2 infs=1 bkbs=6
Mounting disk
Finished partitioning on disk2
/dev/disk2 (external, physical):
   #:                       TYPE NAME                    SIZE       IDENTIFIER
   0:     FDisk_partition_scheme                        *31.9 GB    disk2
   1:                 DOS_FAT_32 UEFI                    31.9 GB    disk2s1
1-4-3 Delete all files starting with kernel*.img within firmware-master/boot directory and then copy the entire “boot” directory onto the newly formatted SD Card with the following commands. Again the commands below work because the firmware I downloaded in steps 1-2 and 1-3 are located in /Desktop. Update accordingly if the files are in a different folder.
rm ~/Desktop/firmware-master/boot/kernel*.img
cp -rf ~/Desktop/firmware-master/boot/* /Volumes/UEFI
1-4-4 Copy all files within the RPi4_UEFI_Firmware_v1.20 directory into the same boot directory on SD Card.
On my Mac, I used the following commands:
nvibert-a01:Users nicolasvibert$ cp -rf ~/Desktop/RPi4_UEFI_Firmware_v1.20/* /Volumes/UEFI
1-4-5 Edit the config.txt file on the SD Card and append gpu_mem=16 if you are using 4GB rPi4 (this is not needed for 8GB rPI4).
This is what I did on my Mac. The second command “more /Volumes/UEFI/config.txt” is just to check that the config was correctly updated.
nvibert-a01:Users nicolasvibert$ echo "gpu_mem=16" >> /Volumes/UEFI/config.txt
nvibert-a01:Users nicolasvibert$ more /Volumes/UEFI/config.txt
arm_64bit=1
enable_uart=1
uart_2ndstage=1
enable_gic=1
armstub=RPI_EFI.fd
disable_commandline_tags=1
disable_overscan=1
device_tree_address=0x1f0000
device_tree_end=0x200000
dtoverlay=miniuart-bt
gpu_mem=16
1-4-6 Eject the SD Card
nvibert-a01:Users nicolasvibert$ diskutil eject /dev/disk2
Disk /dev/disk2 ejected
Step 2 – UEFI Firmware Configuration
I connected my Pi directly to an HDMI monitor (my Raspberry Pi bundle kit came with two USB to micro UB cables). An option is to use the Serial console but to keep it simple, you can just use the HDMI monitor.
Power up the Pi and enter the Setup page by pressing the ESC button.
You’ll get to this screen:
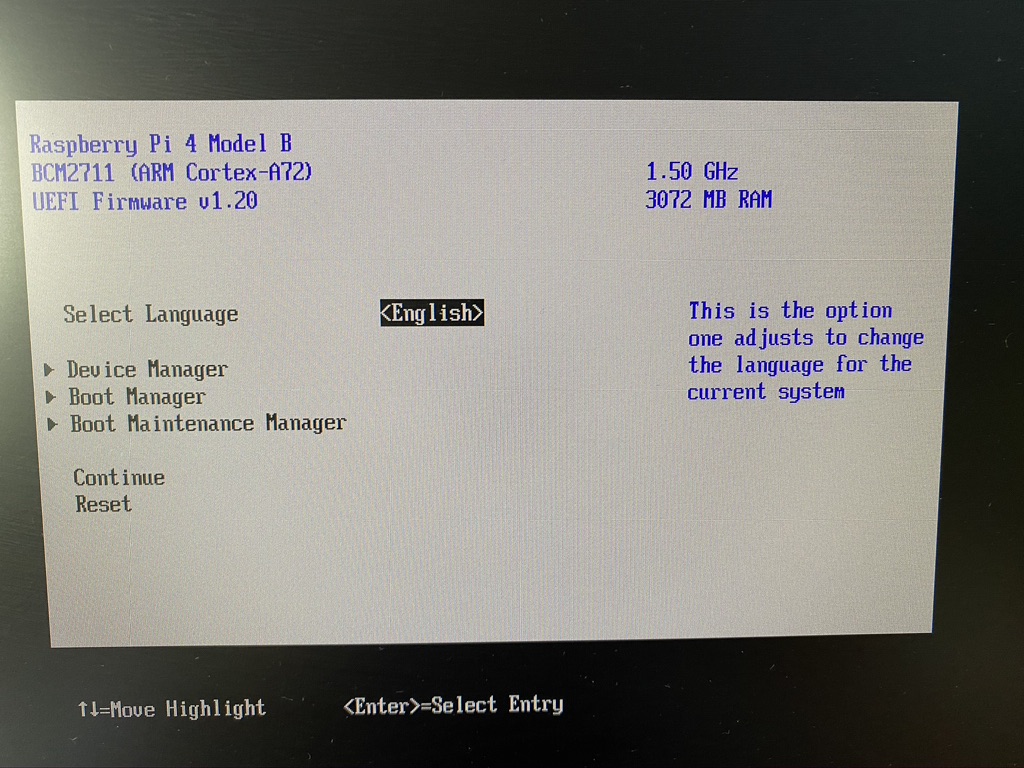
2.1 Disable 3GiB memory limit
This is very well explained within the installation guide. The Raspberry Pi 4 UEFI is configured with a default limit of 3GiB of memory.
Unless you disable it, you won’t be able to install ESXi. Within the portal, you need to go to Device Manager / Raspberry Pi Configuration / Advanced Configuration / Limit RAM to 3GB and change it from Enabled to Disabled. These are the screenshots I took:

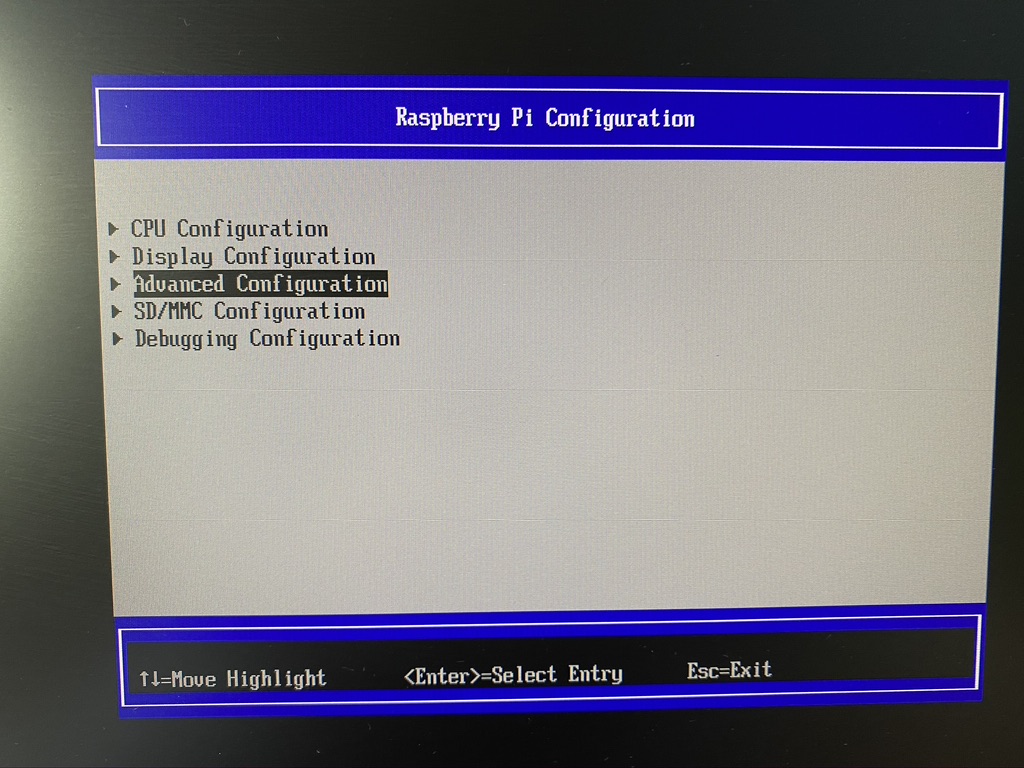
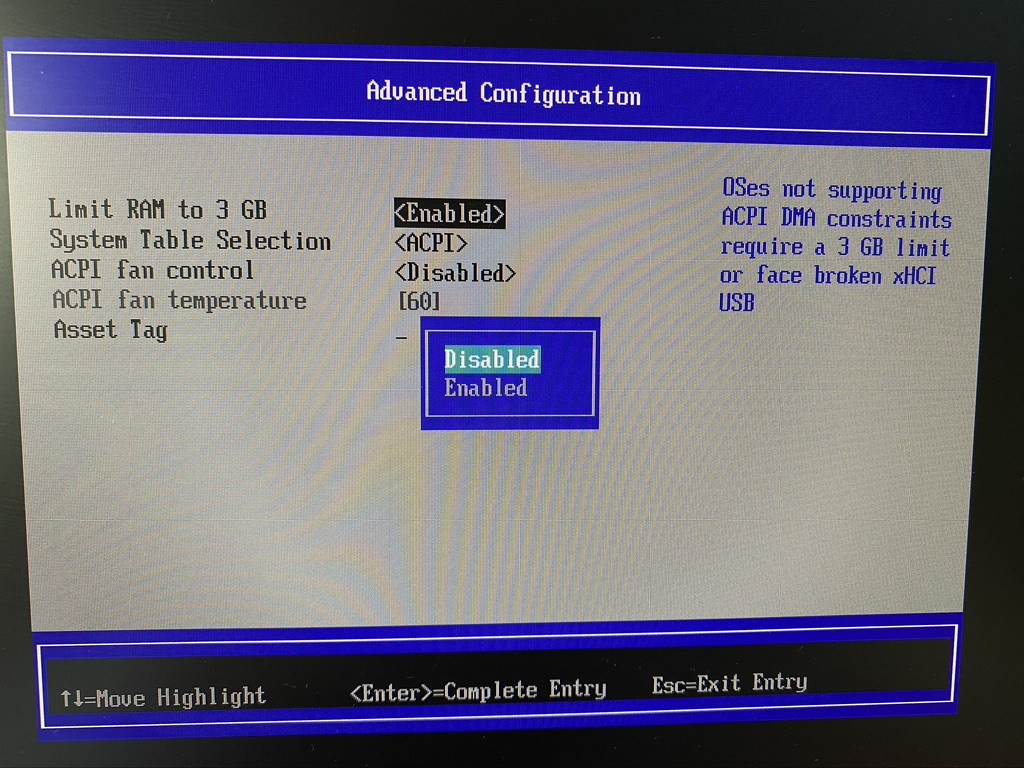

Make sure you save the configuration changes!
Step 3 – Preparing the USB Installer
The instructions below will format the USB Key with the FAT32 format, prepare and copy the the ISO onto the USB key. I had to download Unetbootin for it to create the bootable live disk.
Insert the USB key in your computer first to load it with the ISO you downloaded from myvmware.com.
I found these instructions in an internal VMware page but they didn’t make the final documentation. It worked very well for me and hopefully can help others.
diskutil partitionDisk /dev/disk2 1 MBRFormat "MS-DOS" ARM R
USB_DEVICE=/dev/disk2
ESXI_ISO_PATH=/Users/nicolasvibert/Downloads/VMware-VMvisor-Installer-7.0.0-40024051.aarch64.iso
UNETBOOTIN_APP_PATH=/Users/nicolasvibert/Desktop/unetbootin.app
sudo "${UNETBOOTIN_APP_PATH}/Contents/MacOS/unetbootin" lang=en method=diskimage isofile=${ESXI_ISO_PATH} installtype=USB targetdrive=${USB_DEVICE}s1 autoinstall=yes
Obviously you should update the instructions above with the right disk# and the right paths and version name.
Here is the actual output on my Mac Terminal:
nvibert-a01:Users nicolasvibert$ diskutil partitionDisk /dev/disk2 1 MBRFormat "MS-DOS" ARM R
Started partitioning on disk2
Unmounting disk
Creating the partition map
Waiting for partitions to activate
Formatting disk2s1 as MS-DOS (FAT) with name ARM
512 bytes per physical sector
/dev/rdisk2s1: 61424288 sectors in 1919509 FAT32 clusters (16384 bytes/cluster)
bps=512 spc=32 res=32 nft=2 mid=0xf8 spt=32 hds=255 hid=2048 drv=0x80 bsec=61454336 bspf=14997 rdcl=2 infs=1 bkbs=6
Mounting disk
Finished partitioning on disk2
/dev/disk2 (external, physical):
   #:                       TYPE NAME                    SIZE       IDENTIFIER
   0:     FDisk_partition_scheme                        *31.5 GB    disk2
   1:                 DOS_FAT_32 ARM                     31.5 GB    disk2s1

nvibert-a01:Users nicolasvibert$ USB_DEVICE=/dev/disk2
nvibert-a01:Users nicolasvibert$ ESXI_ISO_PATH=/Users/nicolasvibert/Downloads/VMware-VMvisor-Installer-7.0.0-40024051.aarch64.iso
nvibert-a01:Users nicolasvibert$
UNETBOOTIN_APP_PATH=/Users/nicolasvibert/Desktop/unetbootin.app
nvibert-a01:Users nicolasvibert$ sudo "${UNETBOOTIN_APP_PATH}/Contents/MacOS/unetbootin" lang=en method=diskimage isofile=${ESXI_ISO_PATH} installtype=USB targetdrive=${USB_DEVICE}s1 autoinstall=yes
That’s it – you’re ready to go!
Step 4 – ESXi Installation
Remove the USB key from your laptop and insert it in the Pi and boot the Pi. Go back in the UEFI firmware configuration (press ESC when the Pi boots). You will need to tell the Raspberry Pi to boot up from the installer.
Go to Boot Manager and then select the USB key (for me, it was the Kingston 32GB drive).
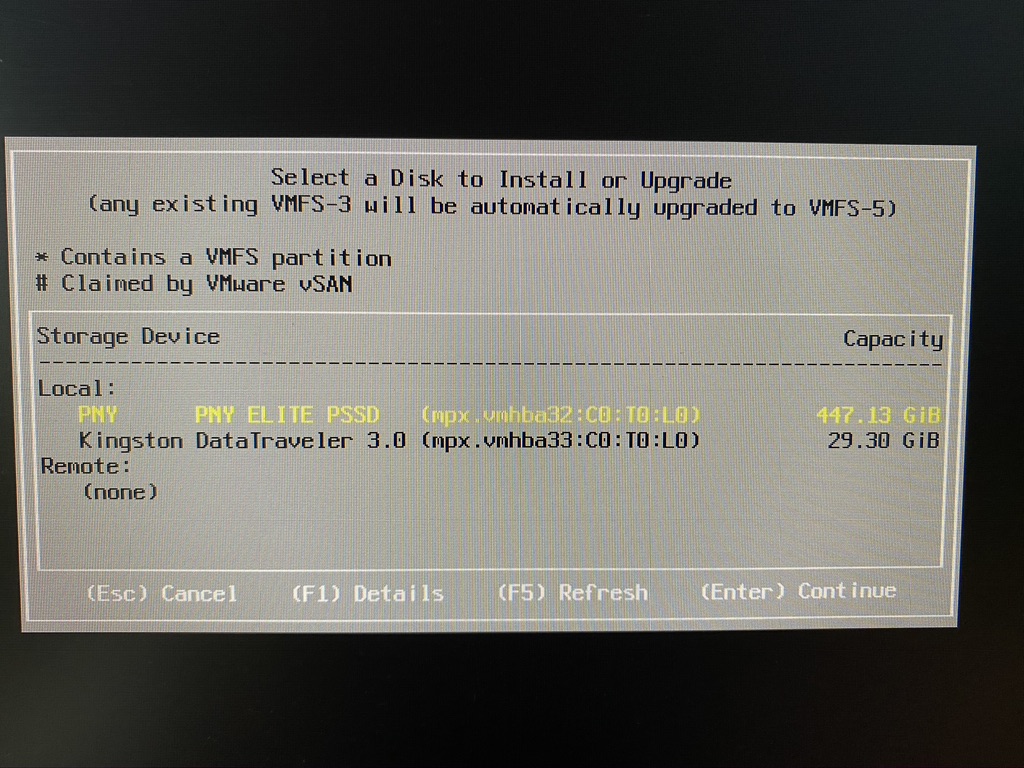
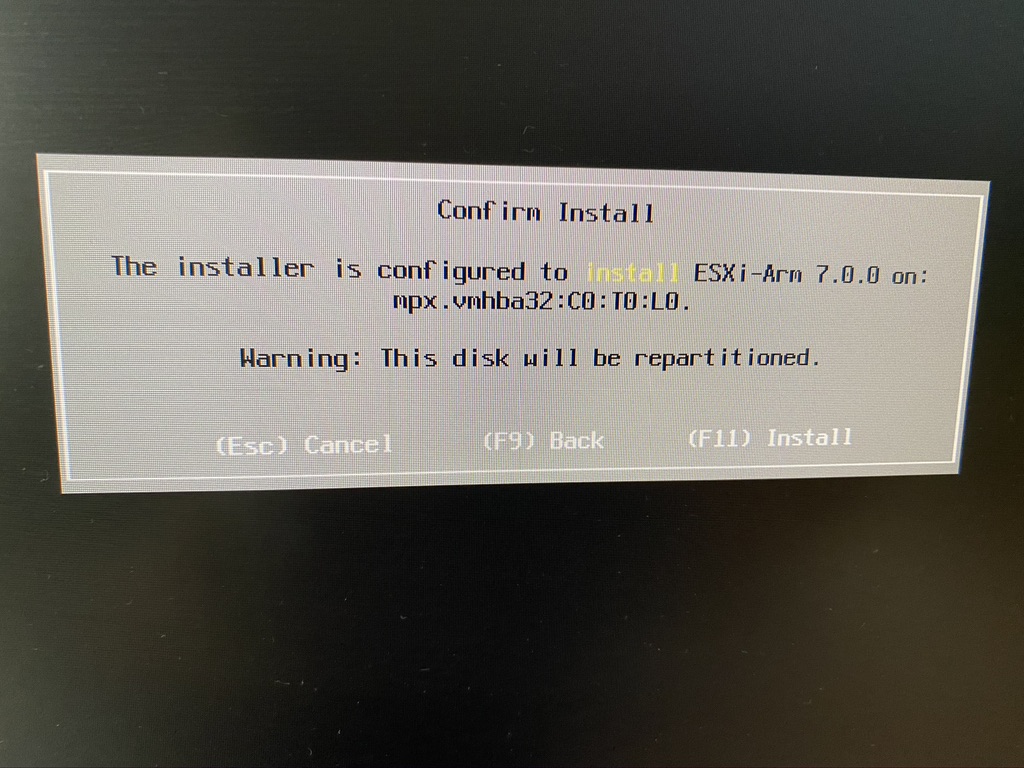
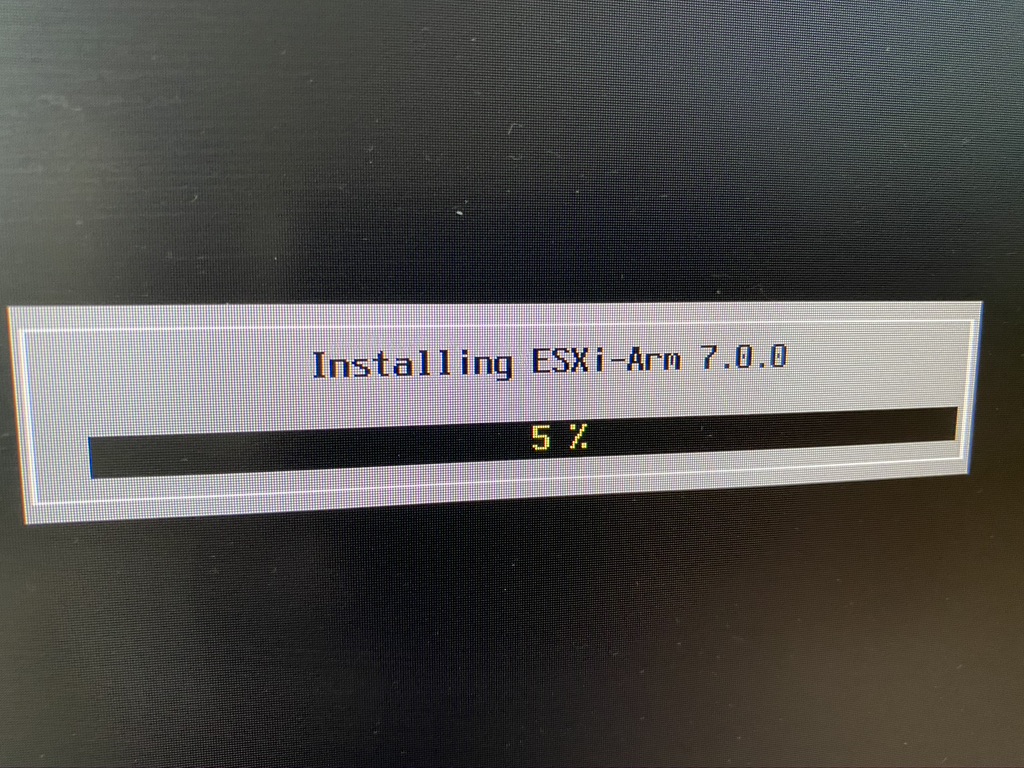
Now the ESXi installer will boot and you can follow the standard steps. Like you can see below, you will need to select the drive where you will be deploying ESXi. I select my 480GB drive and not the tiny USB key. It’s very straight-forward.
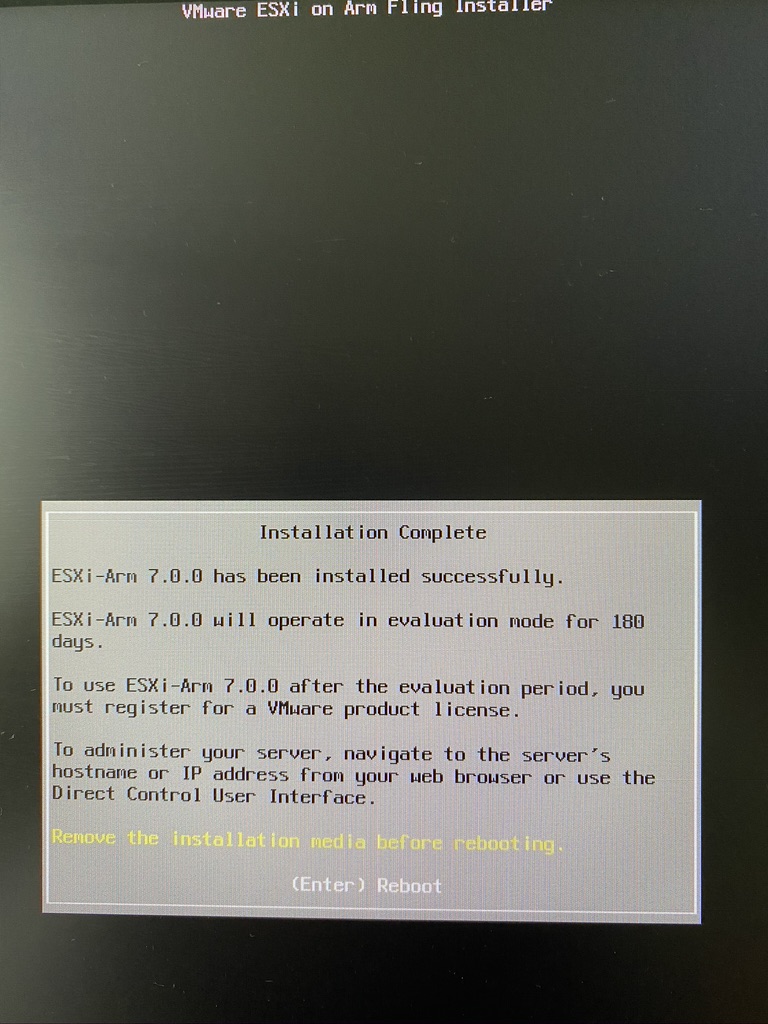
Step 5 – Post ESXi Installation
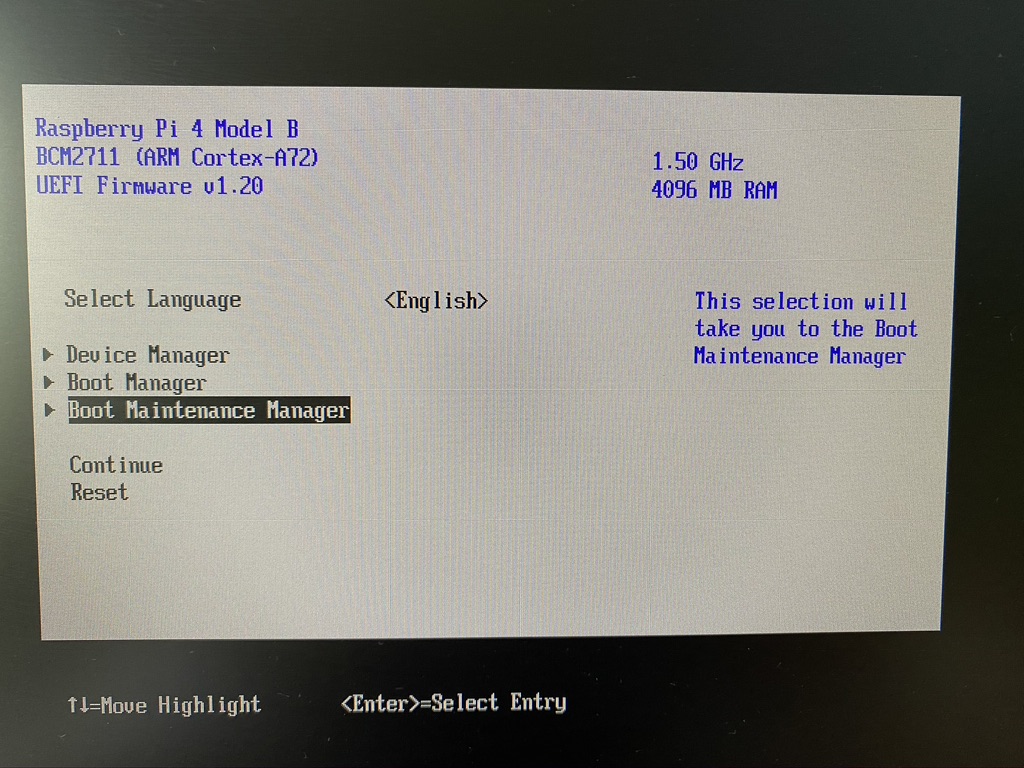
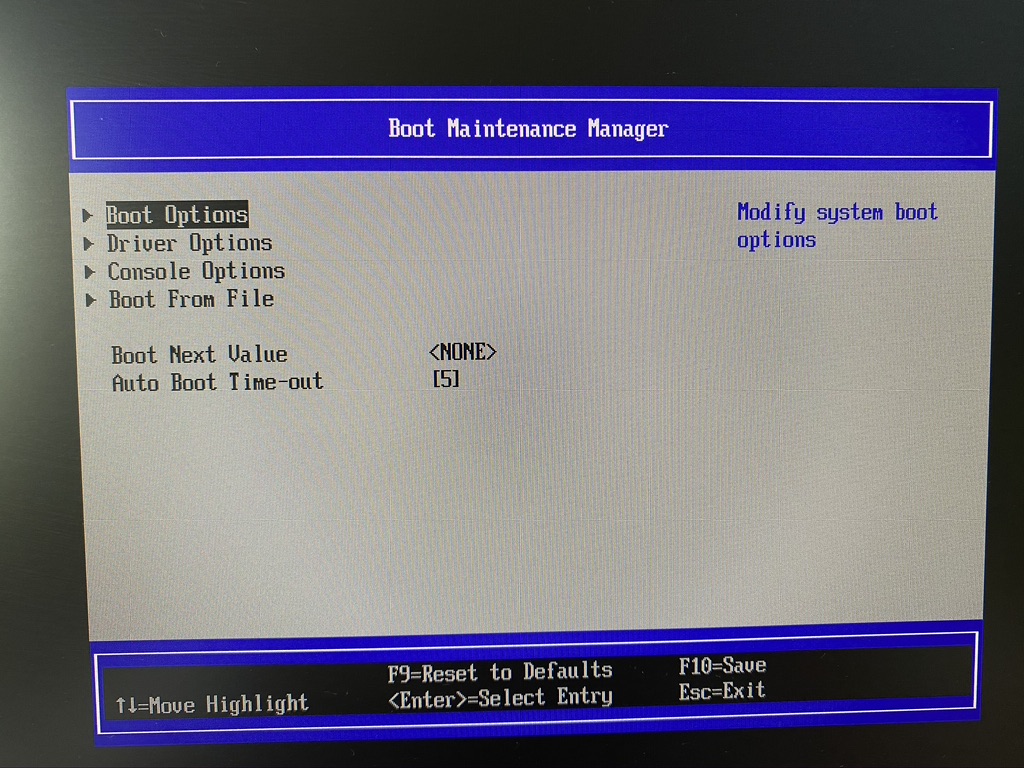
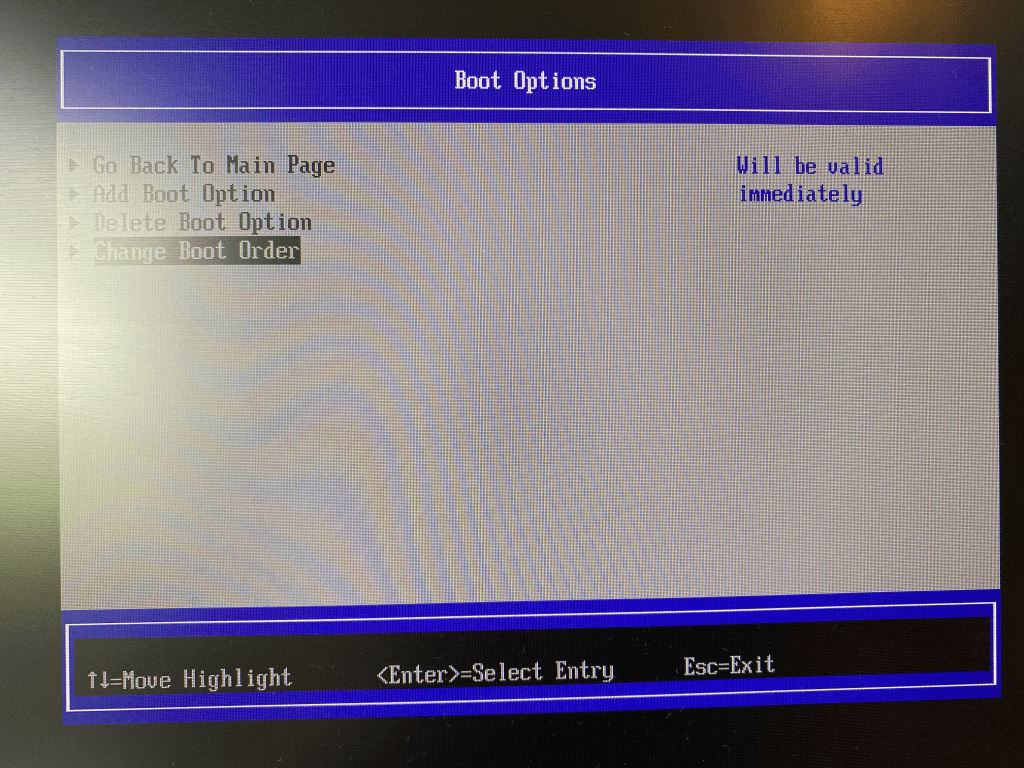
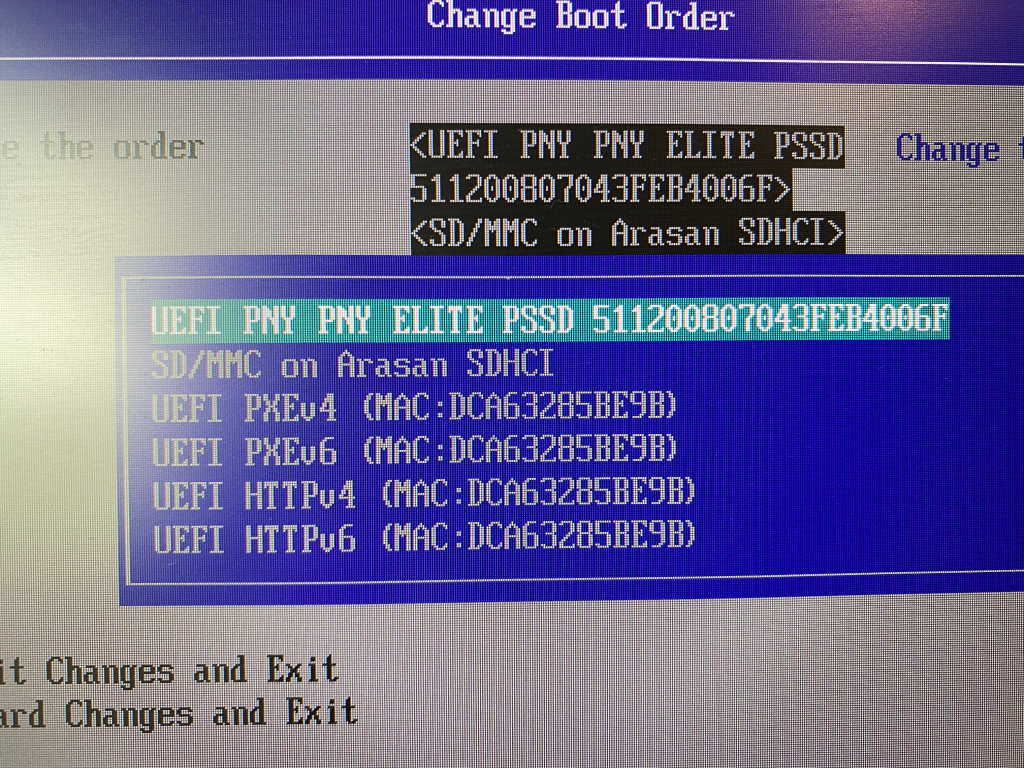
After the installation, you need to tell the Raspberry Pi to boot up from the USB drive. Go back to the UEFI Firmware page, navigate to Boot Maintenance Manager / Boot Option / Change Boot Order and select the drive you want to boot from.
Final results
You’re ready to go.
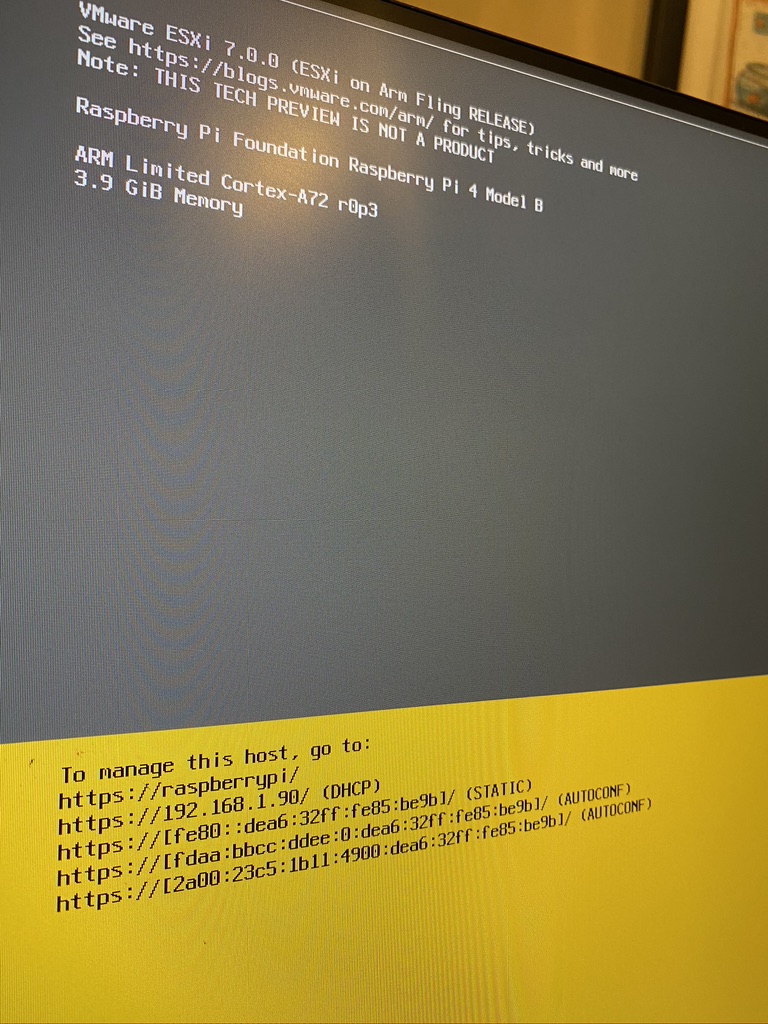
If your Raspberry Pi is connected to your home network with a standard RJ-45 Ethernet cable, then an IP address will be automatically allocated to your Pi via DHCP and you can access it by navigating from your computer to the IP address (as displayed above).
Then you can start creating virtual machines or connecting it to a vCenter, etc… But that’s for another blog.
Thanks for reading.

Hello.
I am a newbie in virtualization. i just bought a raspberry pi 4 to work on virtual machines.
I followed the instructions for installing the ESXI for ARM as described in the official documentation. (update the raspberry, micro SD for booting, and a 4GB usb to put my ISO image)
When choosing the external disk to install the system, I plug in my 240 GB external SSD, but it does not appear in the list of disks, I restart the search several times without success. But when I plug in a 64 GB USB stick, it appears in the list of disks.
I don’t know where the problem comes from. I tried with several HDD and SDD external drives and still the same problem, and no problem with the USB stick.
FYI I’m using the following ISO image: VMware-VMvisor-Installer-7.0.0-17230755.aarch64.iso
sorry if there are any errors in the text i am using google translate.
Thank you in advance for your reply.
LikeLiked by 1 person
I have 3cx running on raspian and i want it to go on a vmware instance and the stand alone crp vmware offor is not working can i just image the sd card and give it to vmware software and it just woek? any tips please help?
LikeLike