
One of my customers was telling me how security rules changes on their firewalls are taking far too long to be implemented: not just days but multiple weeks – and obviously that’s slowing down projects. They saw a demo of Consul Terraform Sync (CTS) and really liked the concept. CTS was something new for me so I decided to test it in parallel.
But before I get CTS for Fortinet working, first, let’s work out how to use Terraform for Fortinet (I didn’t see a lot of tutorials on how this so here is mine).
If you don’t have a Fortigate appliance at hand, then you can do like me and get one from the AWS Marketplace (I could have used Terraform for the actual Fortigate installation but for now, I decided to do it manually (to be fair, it’s only about 6 clicks on AWS)).
It took me about 10 minutes to get access to my AWS-hosted Fortigate:
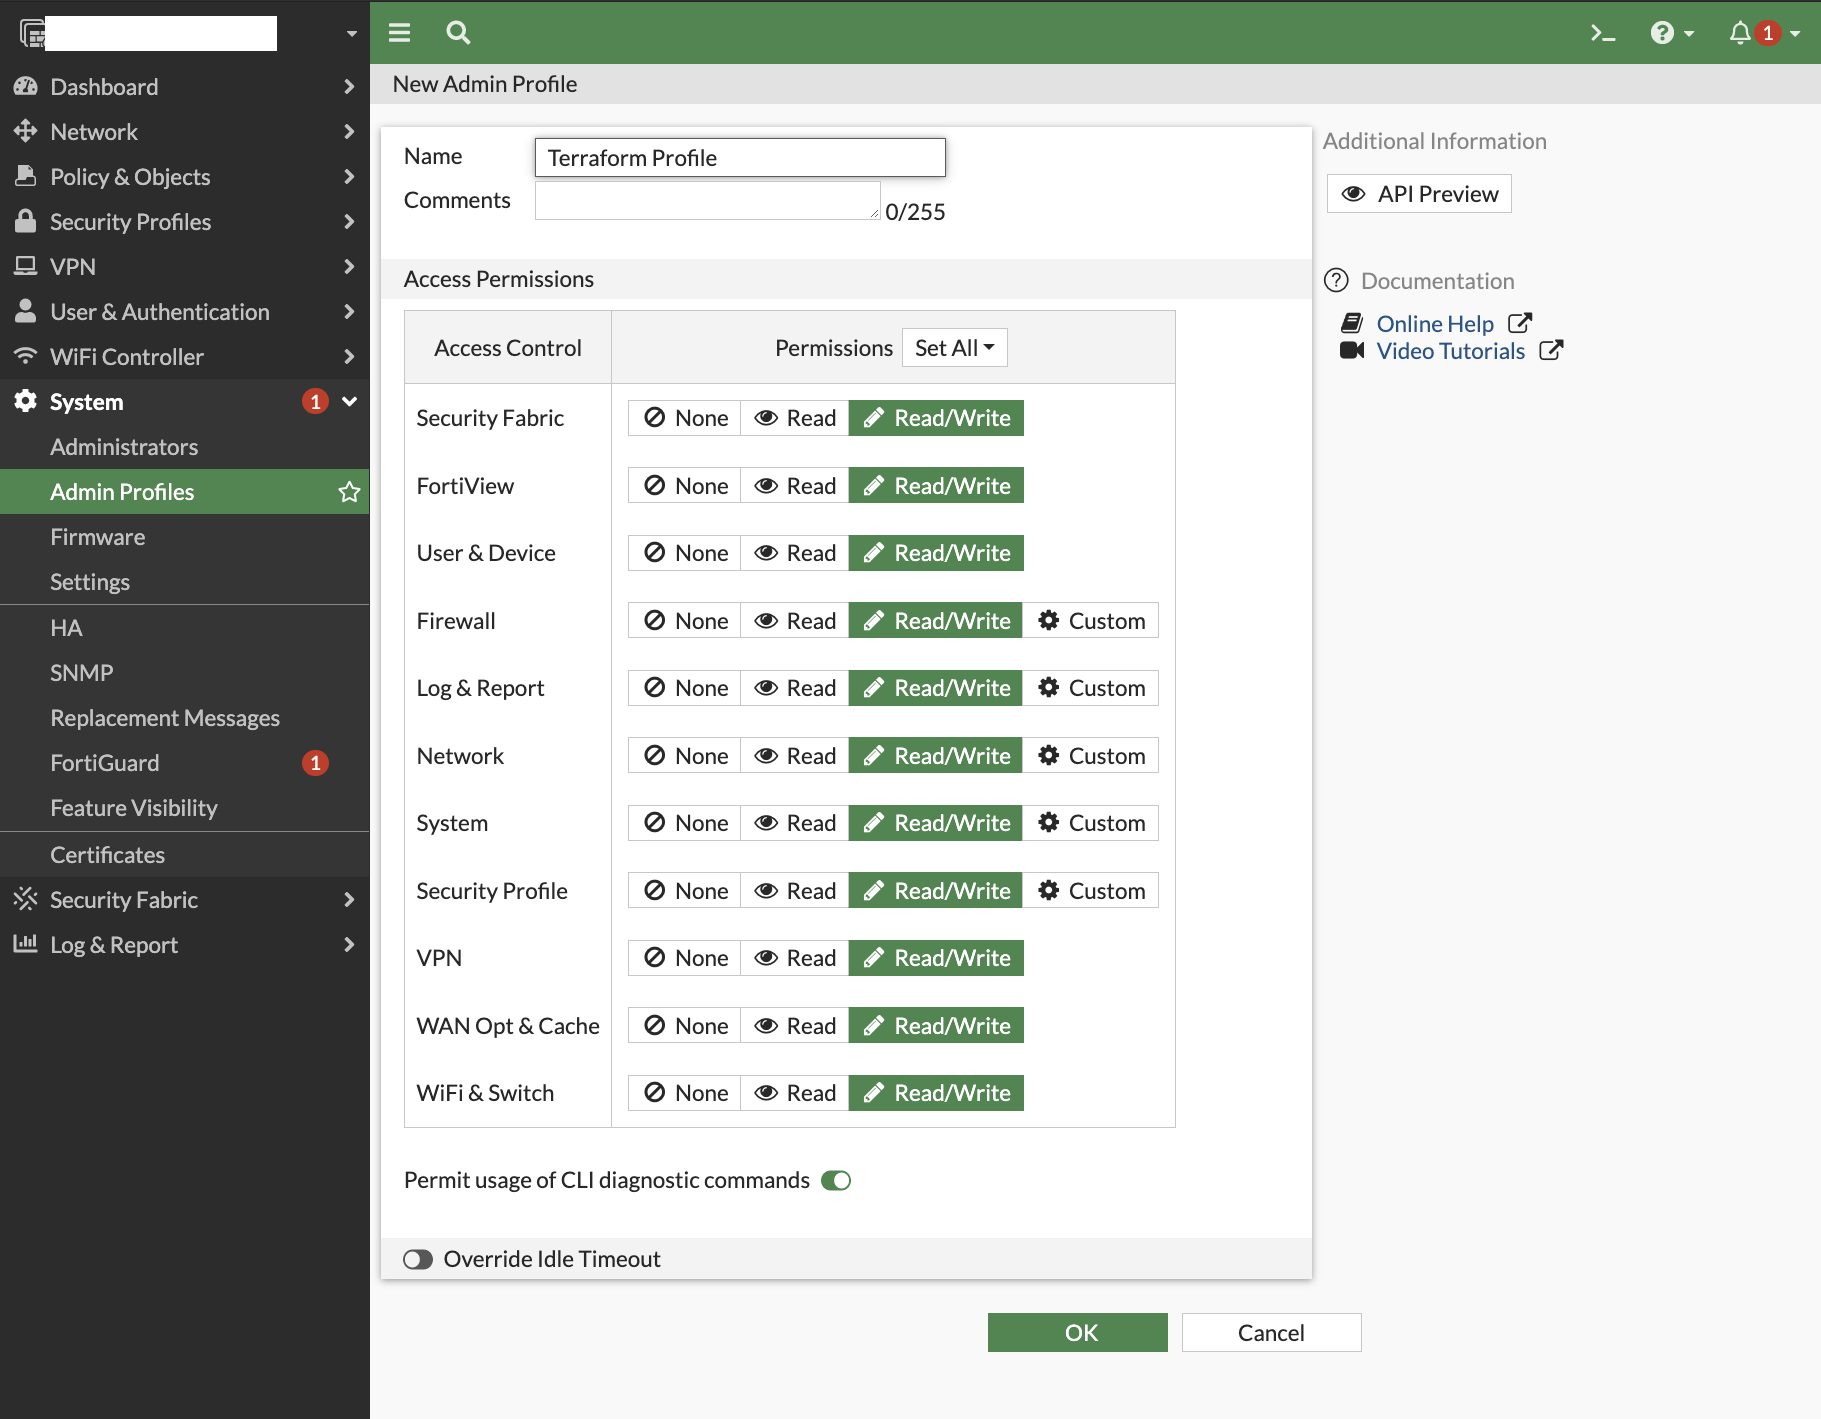
To set up Terraform with it, you’re going to need to create an API token. What you can do is create a new Admin Profile alongside a new REST API Admin.
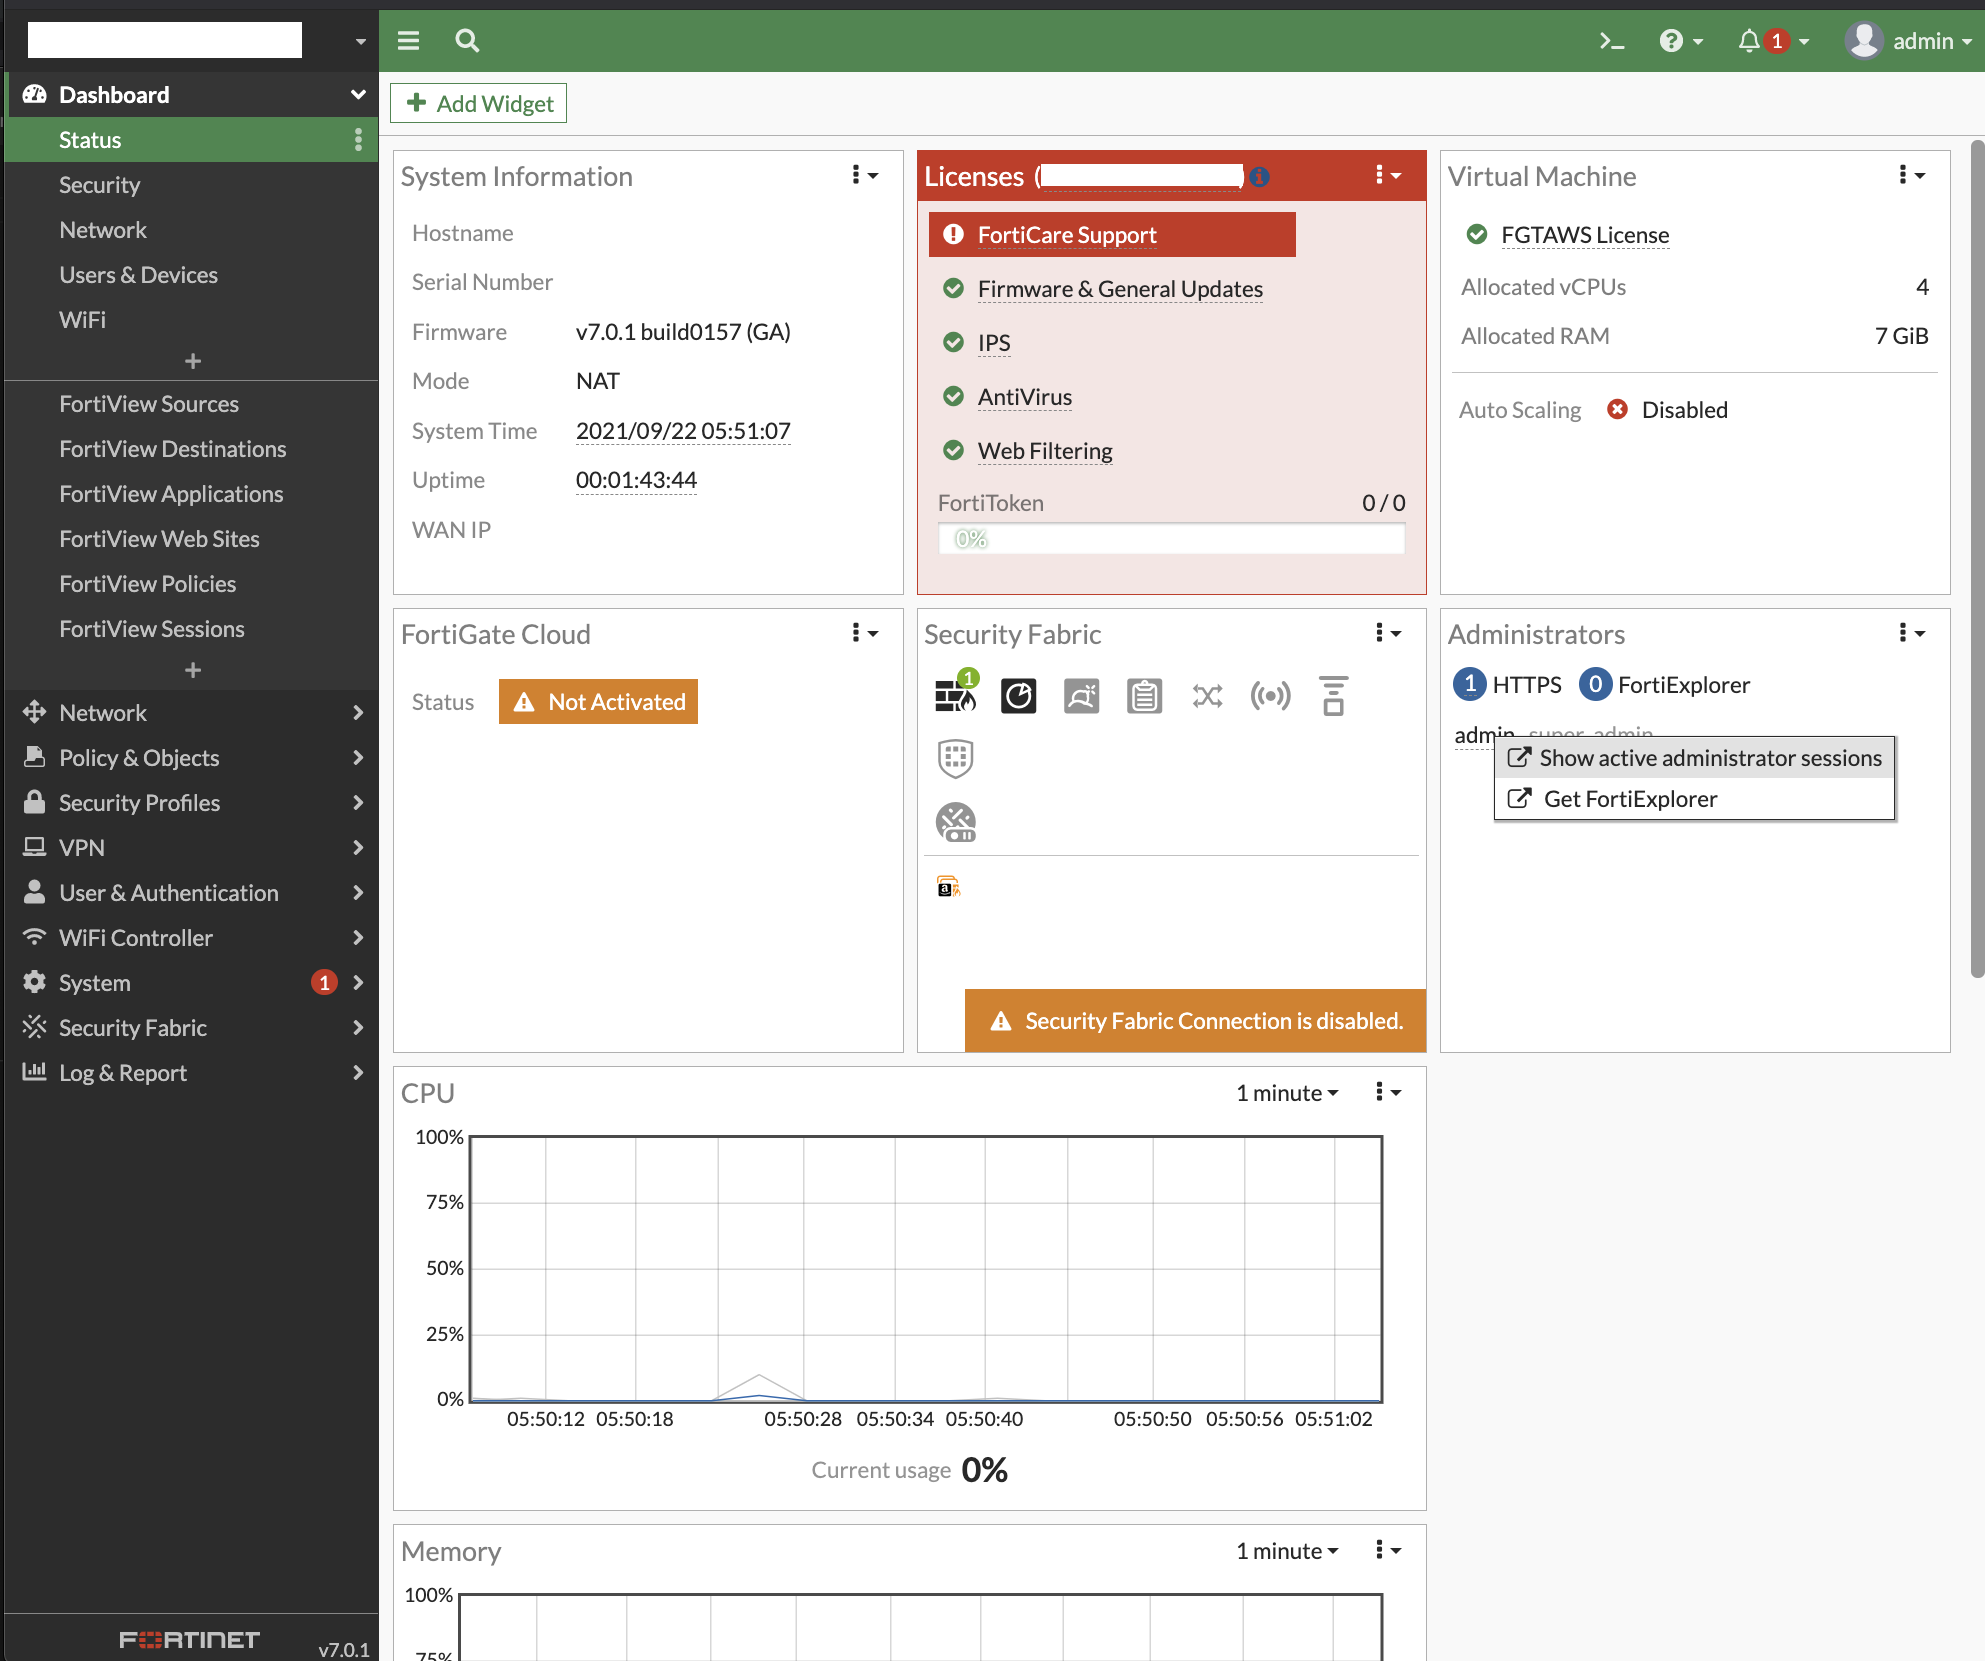
First, you might want to check the Source Address in Dashboard > Status > Administrators. It should be your public IP.

I created a dedicated profile. I gave it all permissions.
Next, go to System > Administrators and create a new REST API Admin:

As mentioned above, you can specify the source IP (the “Trusted Hosts” in the page below), which means Terraform will only succeed if you run it locally (as it checks the source IP of whoever is trying to access the Fortigate box).

Once you create your REST API Admin, you’ll get an API token you can use in your Terraform code.
You can now start building our Fortinet config. Even though it is somehow omitted from the official configuration guide, you’re going to need this block to start with, or you will not go very far:
terraform {
  required_providers {
    fortios = {
      source  = "fortinetdev/fortios"
    }
  }
}
This is just to tell Terraform where to find the provider. You can specify the token directly in the config – not recommended !
provider "fortios" {
  hostname     = "A.B.C.D"
  token        = "secretscrambledtoken"
  insecure     = "true"
}
….Or you can set up the environment variables (as described here)
% export "FORTIOS_ACCESS_HOSTNAME"="A.B.C.D"
% export "FORTIOS_INSECURE"="true"
% export "FORTIOS_ACCESS_TOKEN"="secretscrambledtoken"
And then your provider config is simply this:
provider "fortios" {}
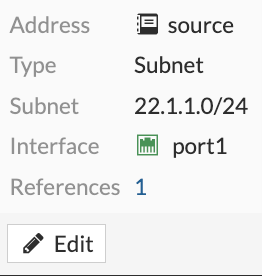
You’re ready to go and build some stuff with Terraform, for example, some security rules/policies. Security rules are pretty straight-forward on Fortinet – define your source, destination and services (i.e. UDP/TCP ports) and refer to them in your security policy:
resource "fortios_firewall_address" "source" {
associated_interface = "port1"
end_ip = "255.255.255.0"
name = "source"
start_ip = "22.1.1.0"
subnet = "22.1.1.0 255.255.255.0"
type = "ipmask"
visibility = "enable"
}
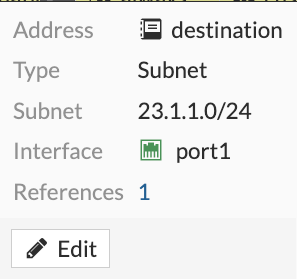
resource "fortios_firewall_address" "dest" {
associated_interface = "port1"
end_ip = "255.255.255.0"
name = "destination"
start_ip = "23.1.1.0"
subnet = "23.1.1.0 255.255.255.0"
type = "ipmask"
visibility = "enable"
}
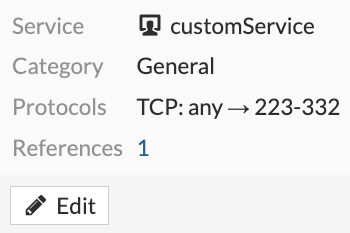
resource "fortios_firewallservice_custom" "service" {
app_service_type = "disable"
category = "General"
check_reset_range = "default"
color = 0
helper = "auto"
iprange = "0.0.0.0"
name = "customService"
protocol = "TCP/UDP/SCTP"
protocol_number = 6
proxy = "disable"
tcp_halfclose_timer = 0
tcp_halfopen_timer = 0
tcp_portrange = "223-332"
tcp_timewait_timer = 0
udp_idle_timer = 0
visibility = "enable"
}
resource "fortios_firewall_policy" "fwpolicy" {
action = "deny"
logtraffic = "utm"
name = "firewallpolicy"
policyid = 1
schedule = "always"
wanopt = "disable"
wanopt_detection = "active"
wanopt_passive_opt = "default"
wccp = "disable"
webcache = "disable"
webcache_https = "disable"
wsso = "enable"
dstaddr {
name = fortios_firewall_address.dest.name
}
dstintf {
name = "port1"
}
service {
name = fortios_firewallservice_custom.service.name
}
srcaddr {
name = fortios_firewall_address.source.name
}
srcintf {
name = "port1"
}
}
I personally find it very odd that the provider would refer to the name of the resource instead of its id or path but hey, that’s just the way the provider was built.
It worked nicely.

I occasionally ran into some issues when creating or destroying resources. The provider might be confused when I create some resources before others. I may have to build some resource dependency as I progress.
Next blog posts will be about automating the deployment of security policies through Consul Terraform Sync:
- Part 1: Introduction
- Part 2: Building a Module
- Part 3: Enterprise Integration
- Part 4: Integration with K/V pair
Thanks for reading.

hey, this is nice example, I too want to use CTS but for fortimanager, how do I get source and destination from Consul ? Is there a way to enable ports based on intentions ? I believe inside service mesh we don’t require any port opening, outside service mesh communication requires port opening ? E.g terminating gateway ?
LikeLike